In an integral aspect of lock system structure, the mortise lock handle serves as the crucial liaison between the user and the security apparatus. It is ingeniously engineered to deliver intuitive usability whilst preserving the robustness of the lock’s operation. Within this discourse, we shall delve into the multifaceted facets associated with the mortise lock handle, elucidating its significance, classifications, installation, and preservation. Furthermore, opinions on four pivotal prerequisites pertaining to the mortise lock handle will be shared through extensive discussion.
1. Classification of Mortise Lock Handles

1.1 Deadbolt Handles
1.2 Lever Handles

1.3 Knob Handles
Deadbolt handles, prevalent across residential, commercial, and industrial domains, offer superior security compared to lever and knob handles owing to their capability to retract entirely within the door. Available in diverse finishes like brass, chrome, and bronze, they can effortlessly blend with the door’s aesthetic.
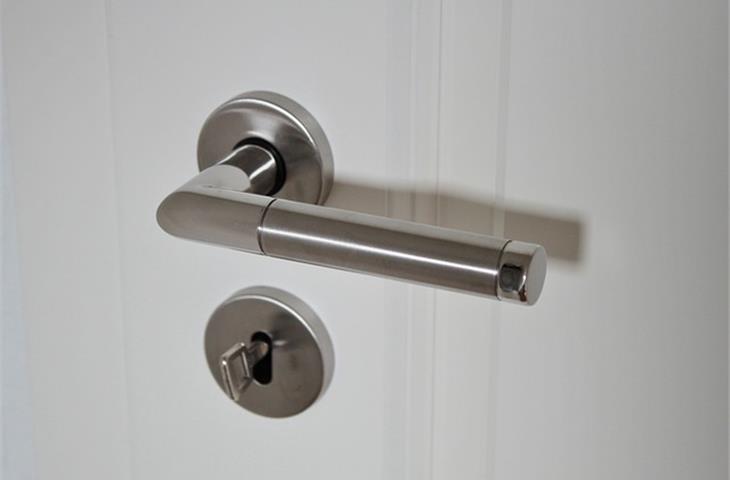
Lever Handles
Lever handles, favoured in contemporary residential and commercial edifices for their simplicity and chic design, are ideal for individuals with disabilities or those grappling with key manipulation. Comprising a variety of styles and finishes, they cater to diverse door types and tastes.
Knob Handles
Knob handles, typically employed in residential entrances, exude a classical, traditional charm. Simple to manipulate and conveniently secured via a key, they are available in a broad spectrum of finishes and designs.
Padlock Handles
Padlock handles, deployed in scenarios demanding heightened security, such as exterior gates, sheds, and storage facilities, are designed to be affixed to the door with a padlock, furnishing additional defence. Available in assorted dimensions and finishes, they assure compatibility with numerous padlock types.
Steps of Mortise Lock Handle Installation
Prior to installing a mortise lock handle, it becomes imperative to delineate and section the mortise to the precise dimensions. This entails identifying the door and employing a saw or drill to carve out the mortise void. Accurate measurements and partitioning prevent installation complications.
Lock Cylinder Attachment
Upon completion of the mortise preparation, the lock cylinder has to be fixed. This encompasses insertion of the cylinder into the door and subsequent fastening with screws. The cylinder houses the critical components of the lock – the locking mechanism and keyway.
Handle Assembly Application
The handle assembly largely comprises the handle, spindle, and latch. Post-cylinder attachment, the handle assembly can be installed. This necessitates secure attachment of the spindle to the cylinder and connection of the handle to the spindle. Confirm that the handle is centrally aligned and functions effortlessly.
Completing the Installation
Following the handle assembly installation, the concluding phase is performance verification of the lock and handle. Test the locking mechanism, handle operation, and verify that the door gracefully shuts and secures seamlessly. Fine-tune the handle and spindle if necessary, to attain precise alignment and optimal functionality.
Preservation and Restoration of Mortise Lock Handles
Routine sanitation and lubrication are vital for the sustained functionality of mortise lock handles. Over time, dust, grime, and detritus can accumulate, leading to stiffness or malfunction of the handle and mechanism. Utilize a soft